You want to record a cover. But which mic should you buy, and what do you do once it is recorded? At the start, none of that is obvious.
This article is the map for that first step. Detailed techniques live in their own articles; here is just what to prepare and in what order. Come back here whenever you get lost.
Three things to decide first
- Which song. Start with one that suits your voice or hands. If the key is too high, lower it before you record.
- Where the backing track comes from. An official instrumental, your own playing, or your own programming. This ties into the rights question below.
- Where you will post it. YouTube, Niconico, short-video apps: the rules for what audio you may use differ between them.
You need less than you think
You do not need everything on day one. The minimum:
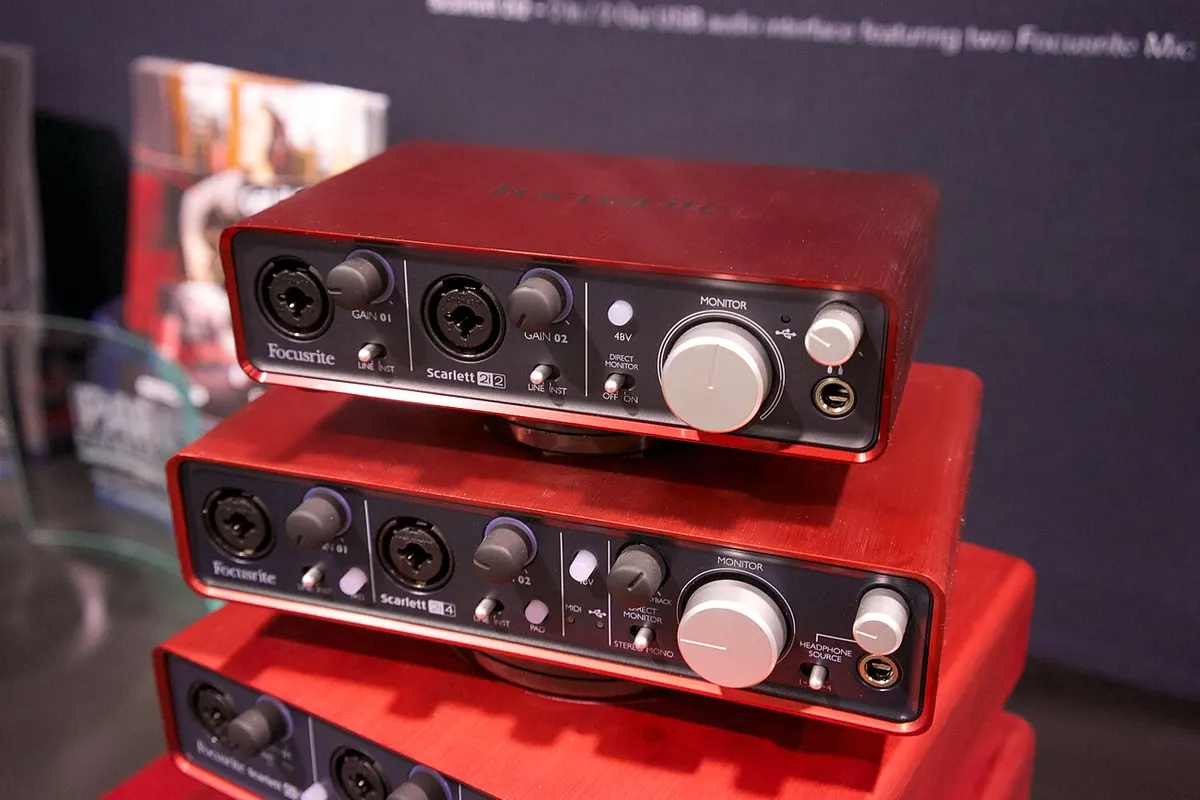
- Something to record with. A USB mic plugs straight into a computer. For practice, even a phone recording is fine.
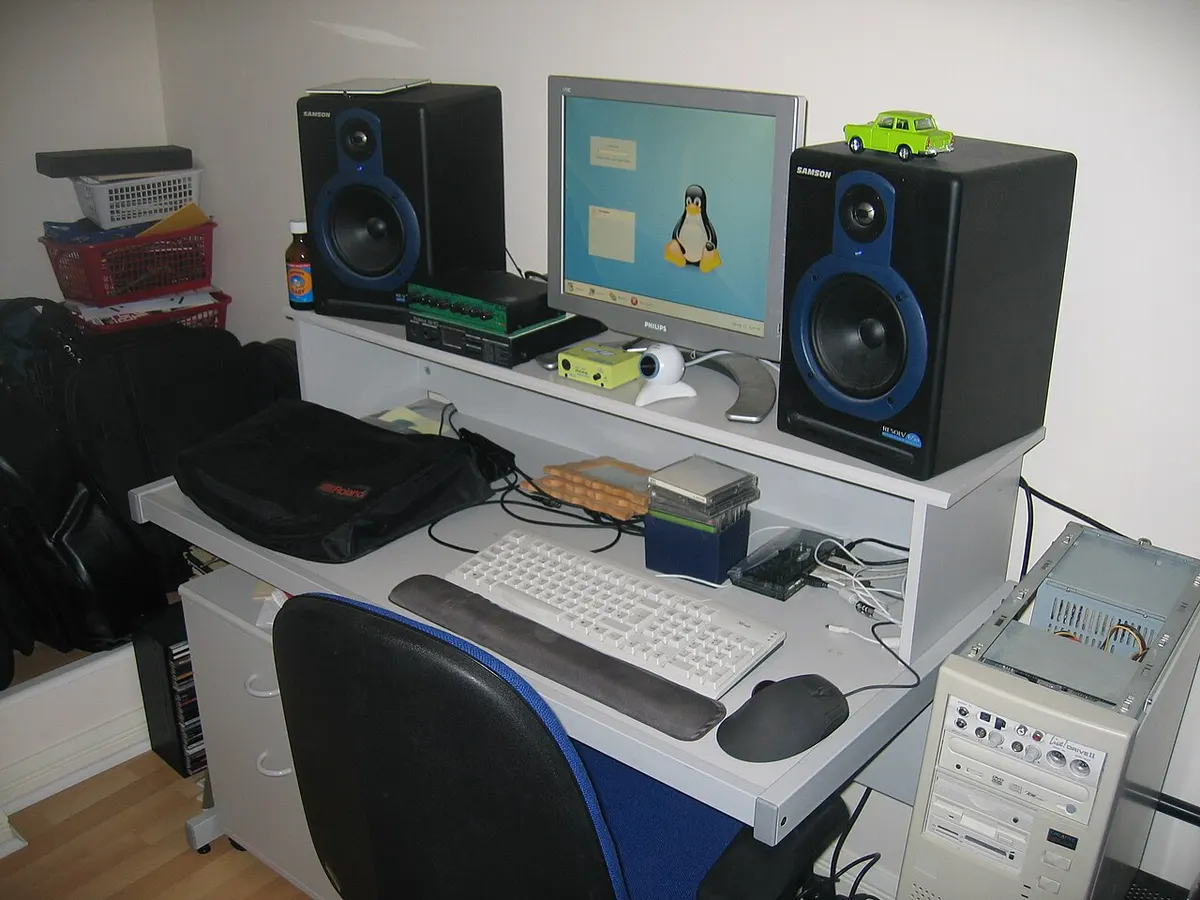
- Closed-back headphones or earphones, so the backing track does not leak into the mic. Playing it through speakers while you record puts it into your vocal take.
- A quiet, not-too-echoey room. A room with curtains or bedding records better than a bathroom.
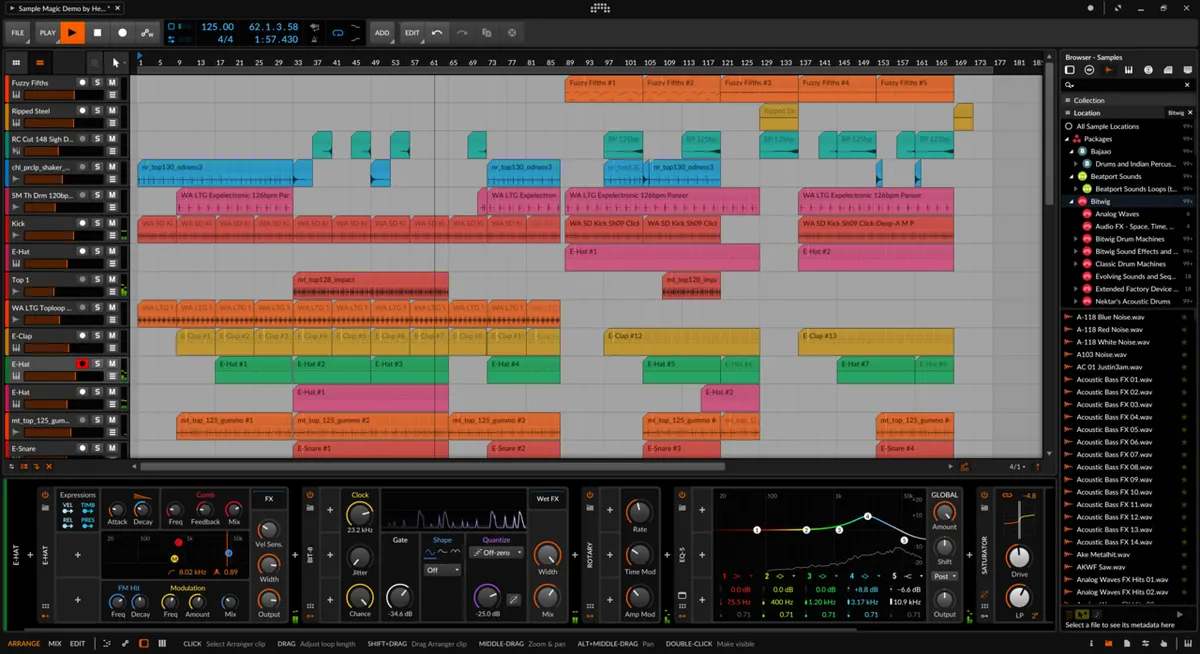
- Recording and editing software. Free software is enough to start: you just need to line up your voice with the backing and set levels and timing.
The whole workflow
Whatever the genre, it is roughly these six stages, in order.
- Prepare the backing track. Change the key or tempo here if you need to.
- Record. Keep the input level a little conservative so even the loudest moment never clips.
- Edit. Pick the best take and tidy up late word onsets and noise.
- Mix. Balance voice and backing, shape tone with EQ, even out level with a compressor, and add space with reverb.
- Master. Do a final pass on overall level and tone. Streaming services play everything at a normalized level, so there is no need to push it as loud as possible (Spotify states it normalizes to −14 LUFS).
- Export and post. If it goes with a video, check the sound and picture are in sync.
Where people usually stumble
- Recording too quiet or too loud. Too quiet, and raising it later raises the noise too. Too loud, and clipped audio cannot be fixed. A little conservative, never clipping, is right.
- Room sound in the recording. Reverb is very hard to remove afterwards. Even hanging a duvet behind the mic helps.
- Voice buried in the backing. Often just turning the backing down fixes it. If not, dip the backing slightly where it clashes with the voice.
- Harsh, piercing sound. Usually a very narrow peak somewhere around 2–5 kHz. See finding harsh frequencies.
About rights to backing tracks
This matters, so plainly: when a video site has a licence with a music rights society, that covers the song (lyrics and composition). It does not give permission to use the recording itself sold on CD or streaming.
So for anything you publish, use an official instrumental (within its terms), backing you played, or backing you programmed. A backing track made by removing vocals from a commercial recording is still that recording, so keep it to practice and learning by ear.
What to read next
- How to make a vocal cover: recording, mixing and posting, in working order.
- How to make a playing cover: the backing track, recording guitar, syncing sound and video.
- How to arrange a song: keeping the core and rebuilding the rest.
- What EQ is: the most basic tool for shaping the tone of a voice or instrument.
- What a compressor is: narrows the gap between loud and quiet so everything is easier to hear.
- Finding and taming harsh frequencies: how to locate the cause of that piercing edge.
- Make your own backing track for a cover: making an instrumental for practice.
- How far to lower the key for karaoke: choosing a key that fits you.