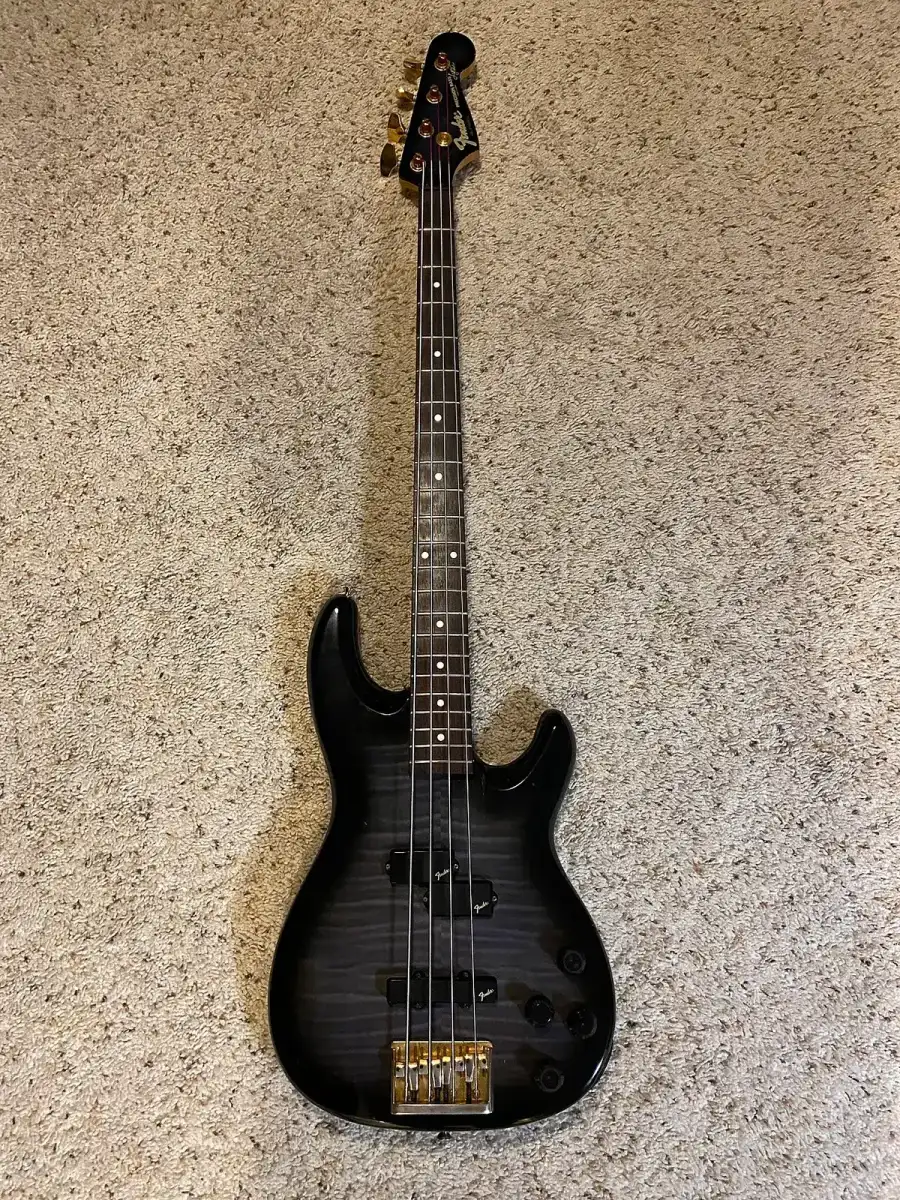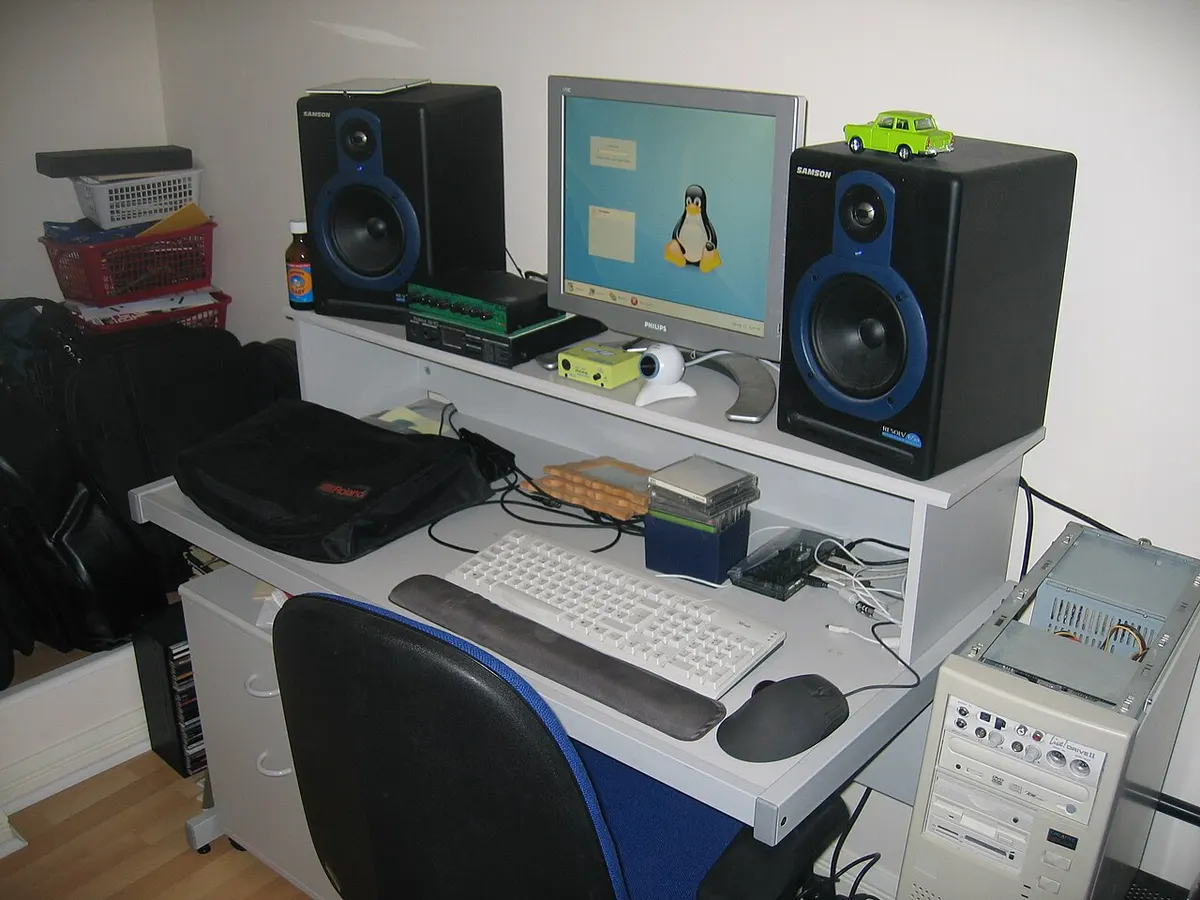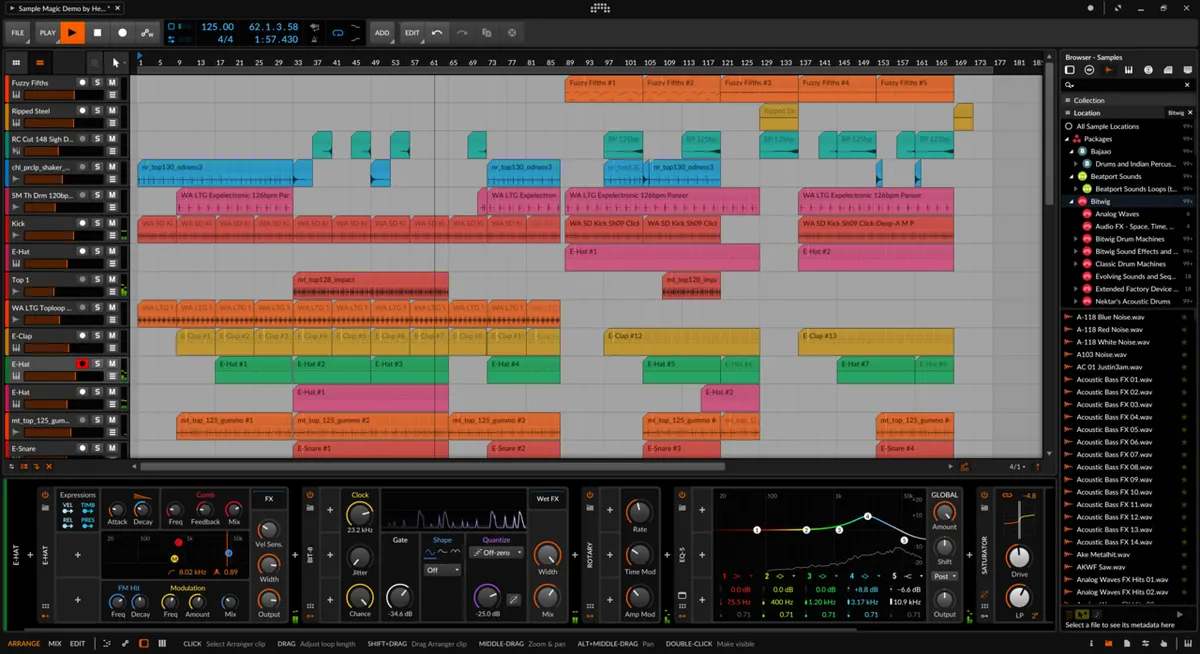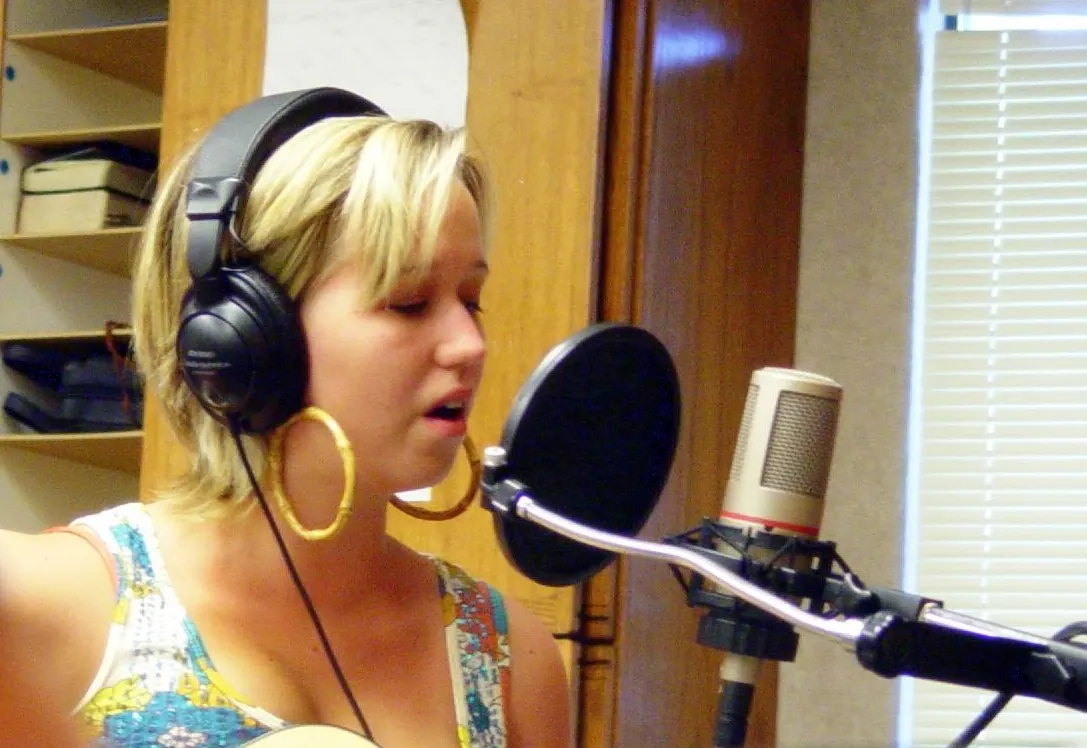
You can finally play the guitar part of a song you love, and you want to keep it as a video. But what do you play along to, and how do you record the sound?
Using guitar as the example, this article goes through finishing one playing-cover video, in order. Bass and keys follow almost exactly the same steps.
The whole process
- Learn and practise the part
- Prepare a backing without your part
- Record the sound
- Film and sync with the sound
- Mix and finish
- Post it
1. Learn and practise the part
- Check the tuning. Songs are often in half-step-down or other non-standard tunings. Find the BPM and key gives you the key as a starting point.
- Listen to your part on its own. Splitting a song into parts lets you hear phrases that were buried. Learning by ear with stem separation shows how.
- Start slow. Learn fast passages at a lower tempo and bring the speed back up bit by bit.
2. Prepare a backing without your part
A backing with only your part missing is called a minus-one track. There are a few ways to get one.
| Source | Good for | Watch out |
|---|---|---|
| Official or distributor minus-one | Videos you post | The safest. Read the terms |
| Backing from a band score or lesson pack | Practice, and posting where the terms allow | What is allowed varies by product |
| Program or play it yourself | Videos you post | More work, but few worries about recording rights |
| Remove your part with stem separation | Practice | Avoid posting with a backing made from a CD or other recording |
3. Record the sound
| Method | How | Suits |
|---|---|---|
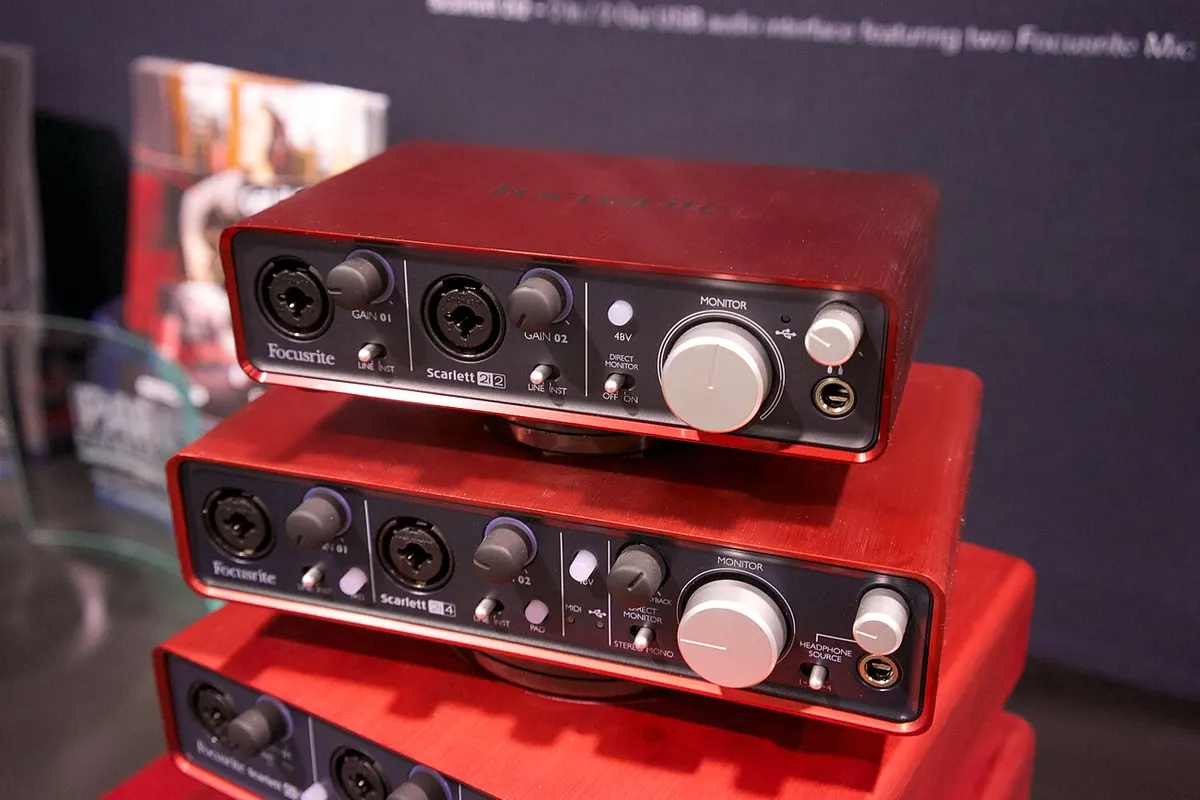
| DI (line) recording | Plug straight into the INST (Hi-Z) input of an audio interface and shape the tone with an amp simulator | Recording at night, or changing the tone later |
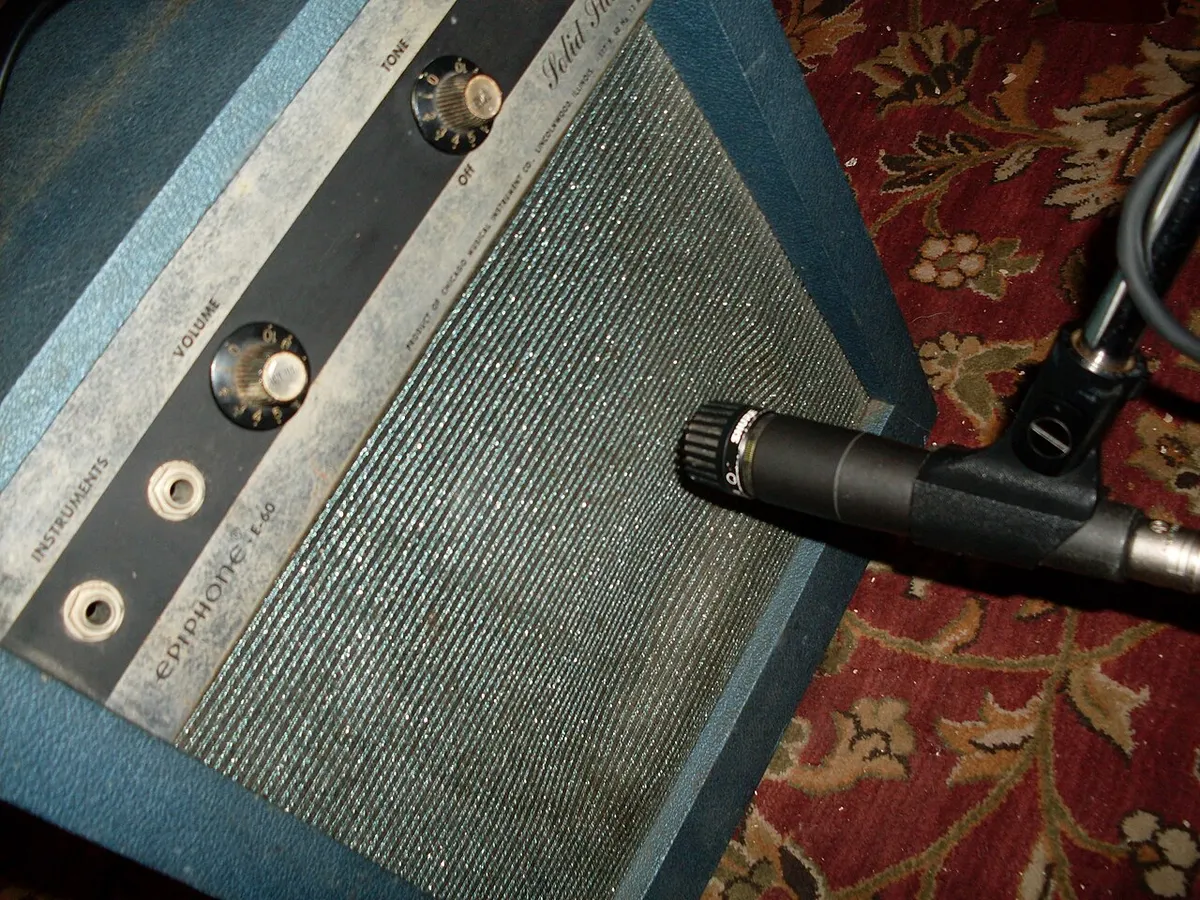
| Miking an amp | A dynamic mic a few cm from the speaker. Nearer the centre is brighter, further out is rounder | Recording the sound of your own amp |
| Phone or camera | The built-in mic, recording with the video | Starting casually. The room shapes the sound |
- Input level: peaks at −12 to −6 dBFS on your hardest hits. Reaching 0 clips.
- If you hear yourself late, lower the buffer size. Around 64–128 samples while recording, then raise it again for mixing. If your interface has direct monitoring, you can hear yourself with no delay.
- Record a few passes and comp the best parts. If you are filming too, make the edit points match the video cuts.
4. Film and sync with the sound
- Fix the camera in place. An angle that shows your hands and the frets is popular.
- Clap once when you start. Line up the sharp spike in the waveform with the frame where your hands meet, and sound and picture match exactly.
- Use the recorded sound in the video, not the camera’s. The camera audio is only a guide for syncing.
5. Mix and finish
| Process | Guitar starting point |
|---|---|
| EQ | Cut below 80–100 Hz so it stays out of the bass’s way. If muddy, dip 200–400 Hz |
| Harsh spots | Distorted tones get harsh around 2–5 kHz. Find thin peaks and lower them a little |
| Panning | Record rhythm parts twice and pan them left and right for width. Keep solos in the centre |
| Level | It is the lead, so a little in front of the backing, but not so loud the backing disappears |
As with a vocal cover, don’t push the backing louder: just set the ceiling to −1 dBTP with a limiter. See mastering basics.
6. Post it
In the description, credit the original lyricist and composer and where the backing came from. Listing your gear and tuning helps viewers who want to learn it too.

Summary
- Check the tuning and key, listen to your part on its own, and practise slow first.
- For posting, use an official backing or one you made yourself.
- Recording DI? Capture the clean signal too. Peaks at −12 to −6 dBFS; small buffer while recording.
- Clap once to sync sound and picture.
- Cut the guitar’s lows to make room for the bass, and finish by just setting the ceiling.